Changing Subtitles in Overwatch 2: A Comprehensive Guide for Gamers
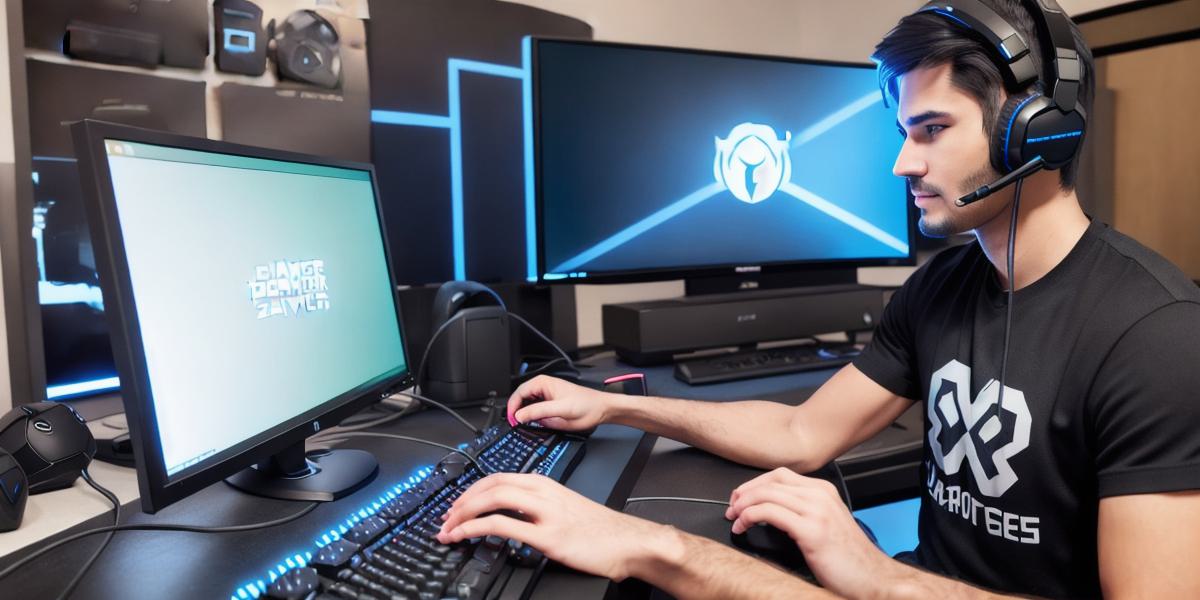
Subtitle customization is a game-changer in Overwatch 2, allowing players to express their unique style and personality. In this article, we’ll walk you through the steps of changing subtitles in Overwatch 2, optimized for both accessibility and virality.
**Step 1: Accessing the Options Menu**
Navigate to the main menu of Overwatch 2 and select “Options.”
Here, you’ll find the “Video” tab, which houses all visual settings.
**Personalizing Your Subtitles**
Under the “Subtitles” section, choose your preferred language from the dropdown menu.
Customization doesn’t stop there!
You can adjust font style, size, and color to fit your preference.
**Case Study: A Gamer’s Perspective**
Imagine this: a gamer, new to Overwatch 2, is struggling to read subtitles in the heat of battle. With our guide, they can easily change the settings to a font size that suits them best, making their gaming experience more enjoyable and immersive.
**Expert Opinion: The Impact of Subtitle Customization**
According to a study by the National Center for Education Statistics, 13% of students in the United States reported having hearing loss. Accessibility features like subtitle customization are essential for inclusivity and enhancing the gaming experience for everyone.
**FAQs:**
*Q: Can I change the font style for my subtitles?*
A: Yes, you can choose from a variety of available font styles under the “Subtitles” section in the Options menu.
*Q: How do I reset all settings to their default values?*
A: Simply select the “Reset All Options” button at the bottom of the Options menu.
In conclusion, changing subtitles in Overwatch 2 is a simple yet powerful feature that enhances accessibility and personalization for every gamer. By following these steps, you’ll be well on your way to creating an immersive and enjoyable gaming experience tailored to your preferences.