How to Find and Extract the Hard Drive Near the Crash Site in Warzone 2 DMZ
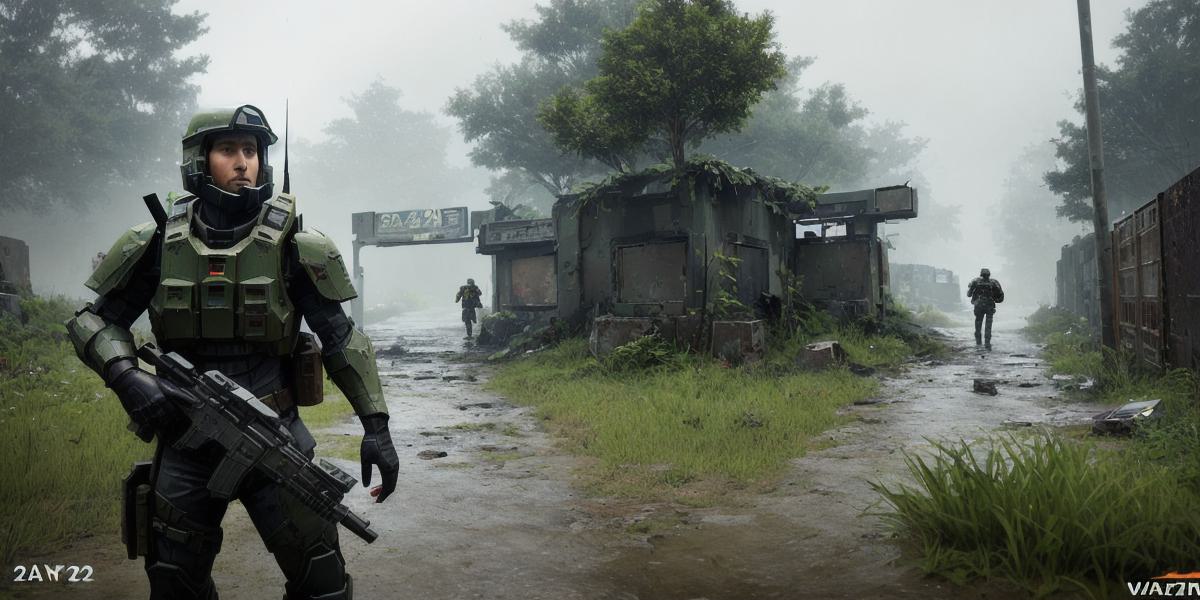
Warzone 2 DMZ is a fast-paced, action-packed game set in Verdansk City where players must survive against waves of enemies and loot high-value items like hard drives. Locating and extracting these items can be challenging, but this article provides a step-by-step guide to help you find and extract the hard drive near the crash site.
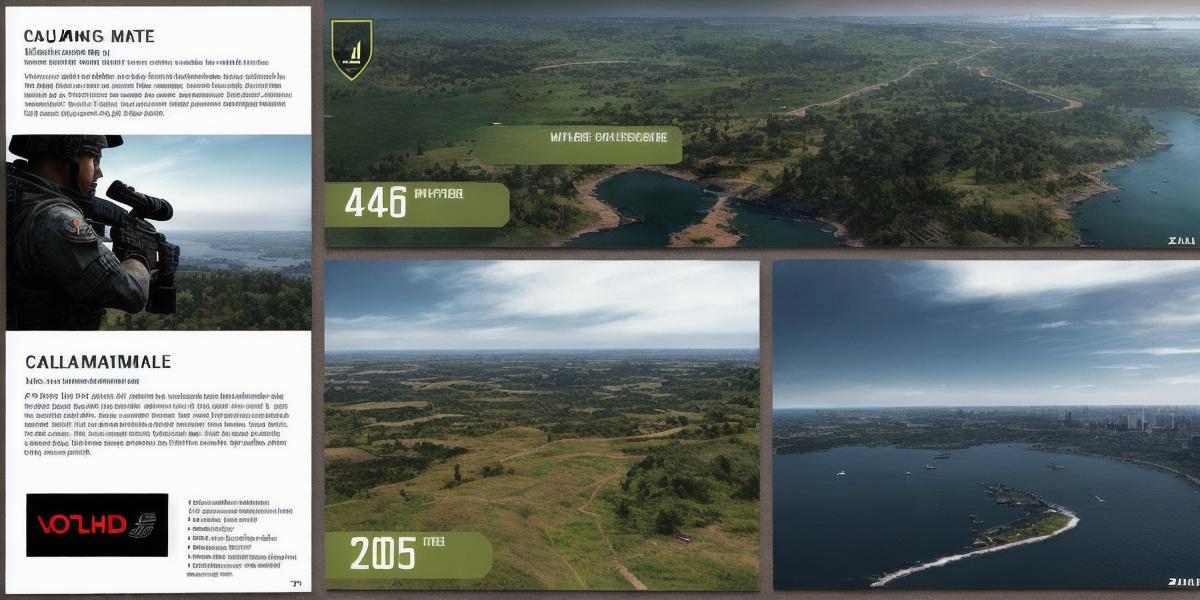
Step 1: Identify the Location – Scan the map using your drone or search for clues like footprints, tire tracks, and other signs of activity in the area. Mark the location on your map and plan your approach.
Step 2: Secure the Hard Drive – Place a suppressor on your weapon or use smoke grenades to cover your approach. Avoid drawing attention to yourself by firing in one direction and moving to another location when reloading.
Step 3: Extract the Hard Drive – Connect it to your PC using a USB cable or use a specialized extraction tool like the BlackVue DR900S-2CH Dashcam. Transfer the data onto an external hard drive for safekeeping.
Step 4: Analyze the Data – Use specialized software like Forensic Toolkit or EnCase Forensics to recover deleted files, view system logs, and analyze other types of data that may be useful for your gameplay strategy.
FAQs:
Look for hard drives with a capacity of at least 1TB as these will typically contain high-value items like rare weapons and attachments. Check the value of the files on the hard drive using specialized software to determine its worth extracting.