How to Get Copilot AI on Windows 11
If you are excited about Microsoft’s new Copilot AI feature and want to learn how to enable it on your Windows 11 PC, then you have come to the right place. Copilot AI is an intelligent assistant that uses machine learning algorithms to help you find information, schedule appointments, set reminders, and even complete tasks hands-free.
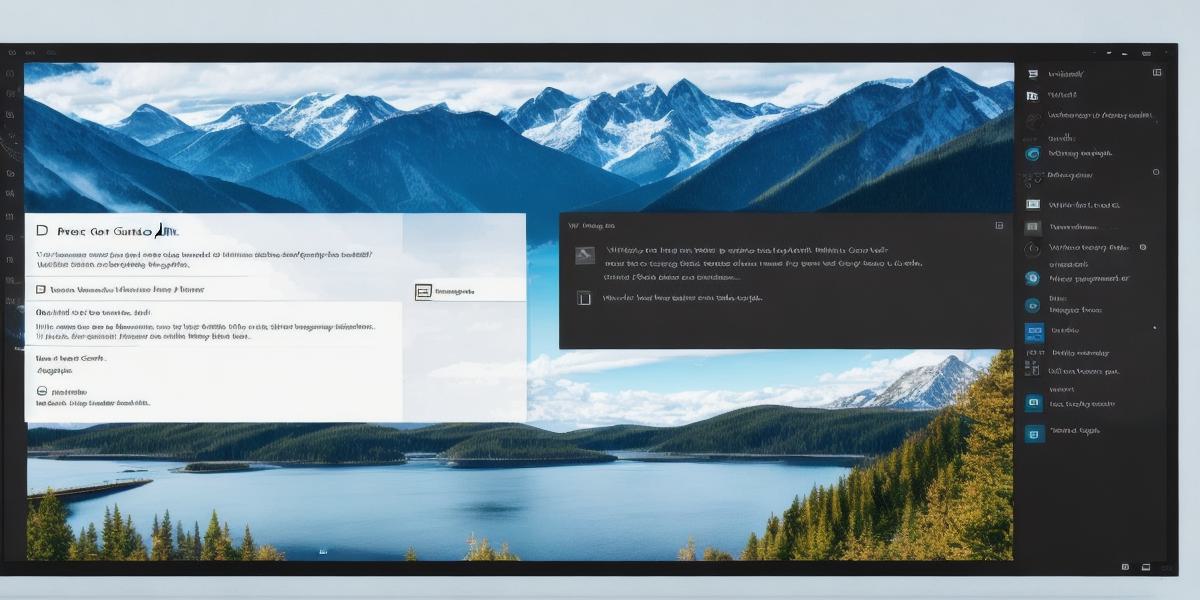
To get started with Copilot AI on Windows 11, follow these simple steps:
Step 1: Open Settings app on your Windows 11 PC and click on “Windows Update.”
Step 2: If an update is available, download and install it on your PC.
Step 3: After the update is installed, go to Settings >
Personalization >
Voice Assistants & Virtual Devices.
Step 4: Click on “Copilot AI” and turn it on.
Step 5: Now you can ask Copilot AI to perform tasks for you. For example, you can say “Hey Copilot, schedule a meeting with John at 2 PM tomorrow.”
Enabling Copilot AI on your Windows 11 PC is easy and simple. With this feature, you can save time and effort by completing tasks hands-free, and even get more done in less time. Plus, the machine learning algorithms used in Copilot AI mean that it will learn from your habits and preferences over time to provide more personalized assistance.
FAQ:
Q: What is Copilot AI?
A: Copilot AI is an intelligent assistant that uses machine learning algorithms to help you find information, schedule appointments, set reminders, and even complete tasks hands-free on Windows 11.
Q: How do I enable Copilot AI on my Windows 11 PC?
A: To enable Copilot AI on your Windows 11 PC, go to Settings >
Personalization >
Voice Assistants & Virtual Devices and turn it on.