How to Make a Public Discord Server: 3 Easy Steps
Discord is a popular communication platform that allows users to create and join servers for various purposes, including gaming, business, and socializing. In this article, we will guide you through the process of creating a public Discord server in just three easy steps.
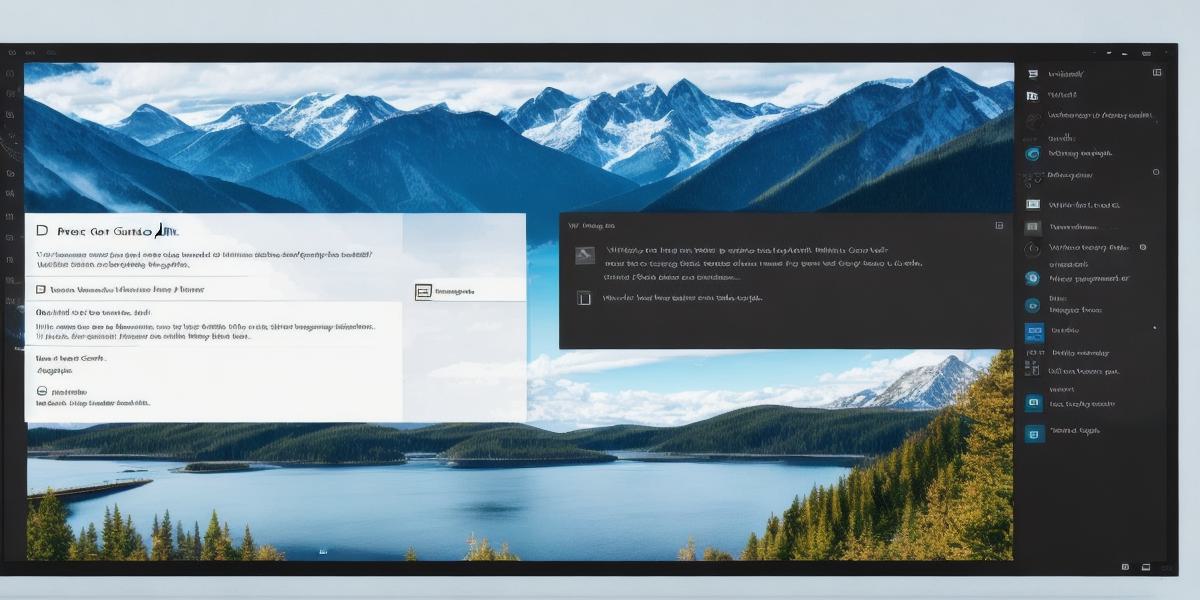
Step 1: Choose a Name and Icon

The first step is to choose a name and icon for your server. Your server’s name should be descriptive and reflect its purpose, while the icon should be visually appealing and relevant to your server’s theme. To create an icon, you can use an image editing tool like Canva or GIMP.
Step 2: Set Up Permissions and Roles
Once you have chosen a name and icon, it’s time to set up permissions and roles for your server. Discord allows you to create different levels of access for members, such as administrators, moderators, and regular members. You can also customize the permissions for each role to ensure that members only have access to the channels and features they need.
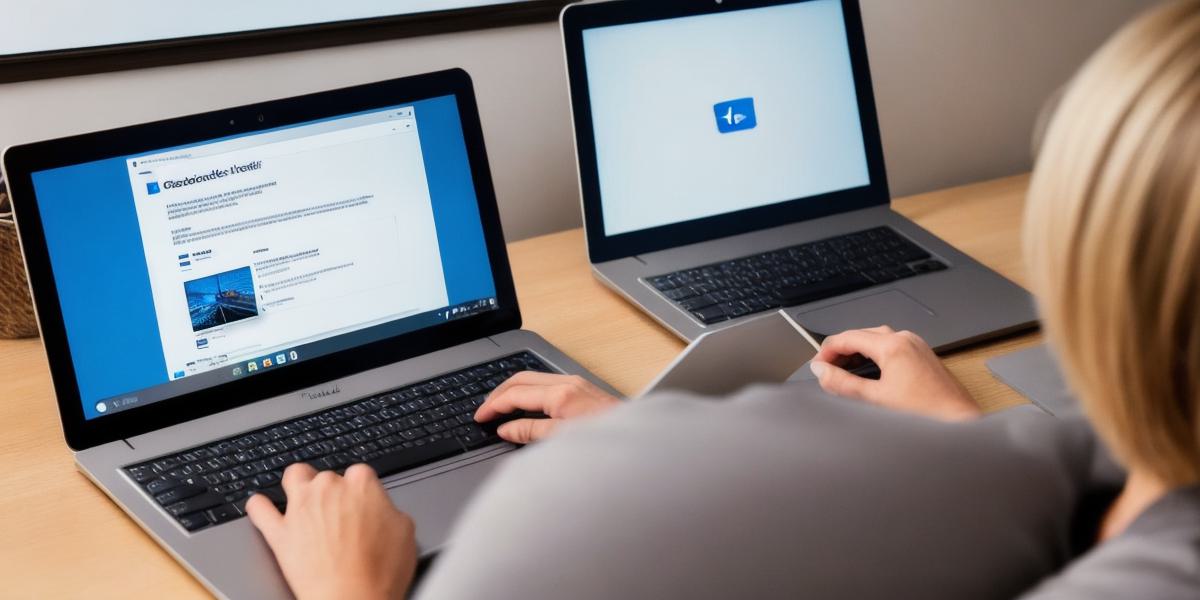
Step 3: Invite Members and Promote Your Server
The final step is to invite members and promote your server. You can invite people by sending them a direct message or adding them to a channel and then inviting them to join the server. To promote your server, you can use social media, Discord’s built-in advertising features, or word-of-mouth marketing.
In conclusion, creating a public Discord server is an easy process that takes just three simple steps. By following these guidelines, you can create a vibrant and engaging community for your members to connect and interact with one another.