Transform Your Old Photos with Instagram Filters: A Quick and Easy Guide
Instagram filters have taken the world by storm, making our feeds more vibrant and engaging. But did you know that you can also apply these magic touches to your existing photos? In this quick and easy guide, we’ll walk you through the process of adding Instagram filters to your old pictures.
**Step 1: Importing Your Photo**
Open the Instagram app and tap on the "+" icon at the bottom right corner. Choose the photo you want to filter by tapping on it from your camera roll or by taking a new one.
Case Study: Sarah, a travel blogger, uses this method to breathe new life into her old vacation photos, making them look more attractive and consistent with her brand.
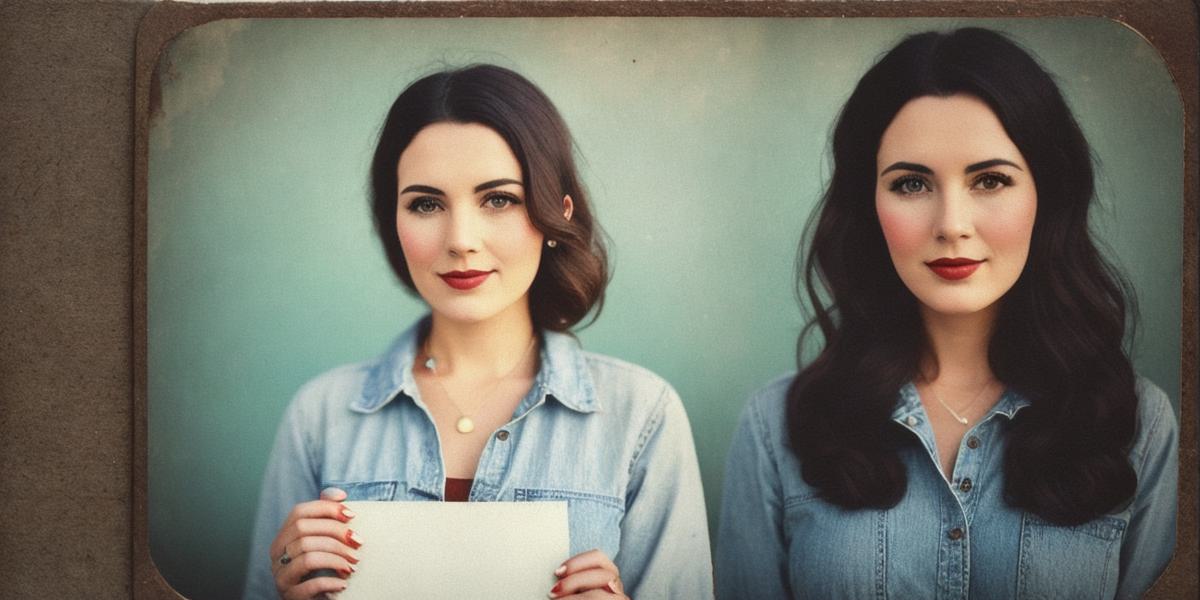
**Step 2: Applying Filters**
Once your photo is loaded, tap on the filter icon at the bottom of the screen. Here, you’ll find a variety of filters that can instantly transform your image. Swipe left to explore different options.
**Expert Opinion:**
According to Instagram, more than 100 million photos are tagged with instafilter every day. Filters help create a unique look and feel for your content.

**Step 3: Editing Tools**
If you’re not satisfied with the filter alone, you can also use the editing tools to fine-tune your image. Adjust brightness, contrast, saturation, and other parameters to get the desired effect.
**FAQ:** Q: Can I add filters to multiple photos at once?
A: Unfortunately, no. You’ll have to apply filters one photo at a time.
By following these simple steps, you can give your old photos a fresh, Instagram-worthy look.
Remember, creativity is the key!
So go ahead and experiment with different filters and editing tools to make your content stand out.